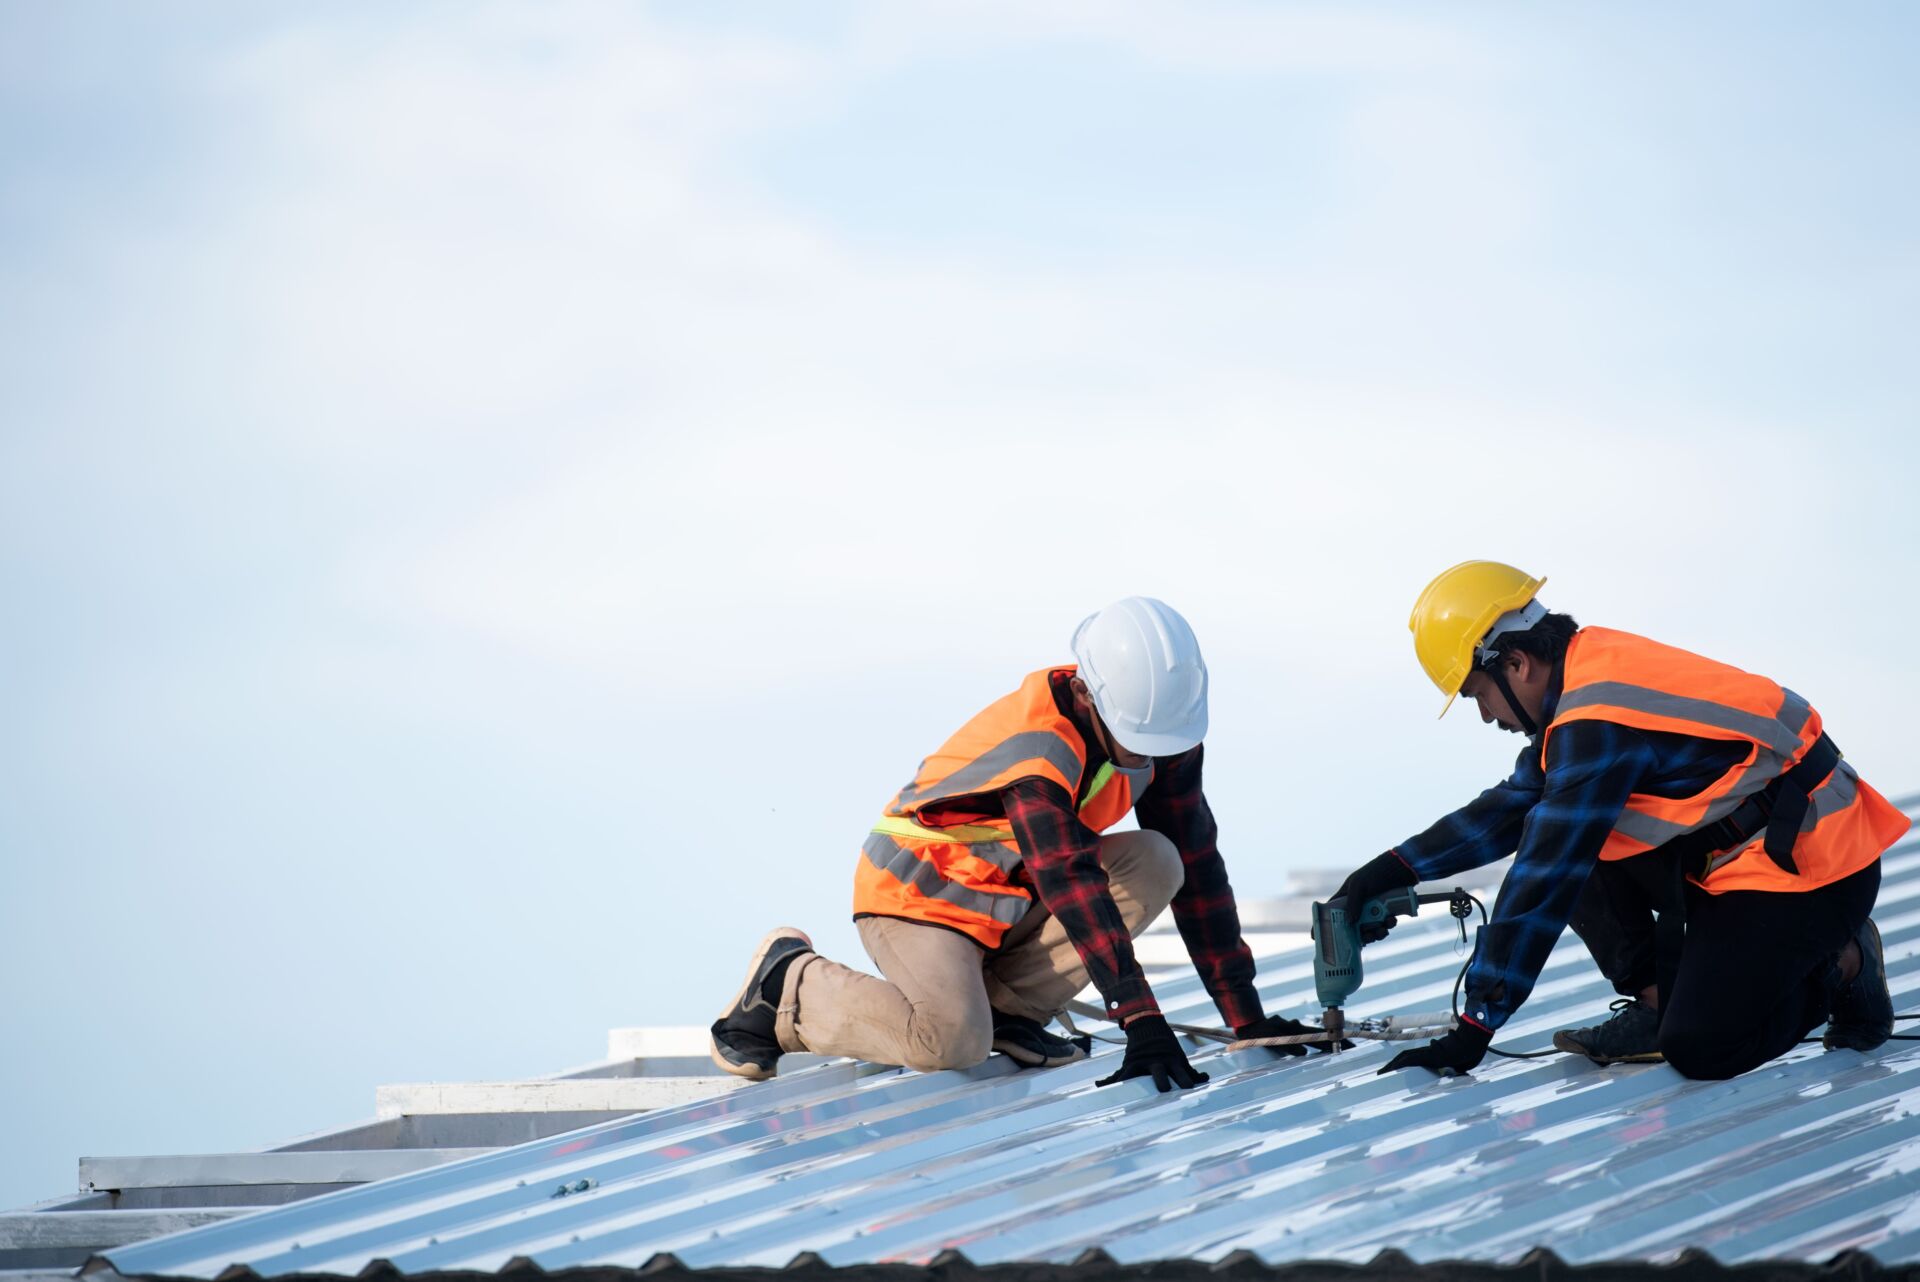
Easily the most common type of roofing provided by Edmonton roofing companies, shingles are popular among homeowners for their affordability, durability, and aesthetic appeal. If you’re curious about the process involved in installing roof shingles, then here is a brief, step-by-step overview from the Edmonton and Sherwood Park roofing contractors at A. Clark Roofing & Siding LP.
Step 1 – Determine how many shingles are needed
To find out how many shingles are needed, you have to calculate the area of different sections of your roof and then add them together to get the total area. As shingles come in many different sizes and different sized bundles, you’ll need to figure out how many of your chosen shingles will fit on the roof.
Step 2 – Choose the type of shingles
Shingles also come in many different types, such as asphalt shingles, concrete shingles, and cedar shakes. Each has their own unique benefits depending on the local climate and on the overall look of the home.
Step 3 – Prepare the roof
Before installing new shingles, you’ll have to remove any existing shingles and damaged roofing material from the roof. Shingles can be removed using a hammer or a roofing shovel. Once you’re finished, you’ll have to pull out any leftover nails and clear and sweep the entire roof.
Step 4 – Install new felt and flashing if needed
Before installing new shingles, any damaged roofing felt or flashing will have to be repaired. Leaving a damaged roofing layer underneath a layer of new shingles can quickly result in roof leaks, so save yourself the time and trouble by repairing it beforehand.
Step 5 – Install new shingles in horizontal rows
The easiest way to install new shingles is to begin at the lower left corner of a roofing section and work your way to the right along the drip edge of the roof. Move one row up and repeat the process after each row is complete. Each additional row should overlap the preceding row by about ¼ inch. You’ll also want to place the centre of each new shingle in line with the edge of the shingle below it so that you’re not lining up the shingles vertically.
Step 6 – Use at least four nails per shingle
At least four corrosion-resistant nails are needed in order to secure each shingle firmly in place. An area prone to strong winds may require the use of up to six nails per shingle.
The Benefits of Hiring Edmonton Roofers
If you don’t have any experience with roofing, then you’ll be much better off hiring experienced Edmonton roofing contractors who offer shingle installation for the job. Trusted Edmonton roofing companies will ensure that your shingles are installed correctly and that they are capable of protecting your home for many years to come. You’ll also be protected under a workmanship warranty, which won’t be the case if you choose to install shingles yourself.
At A. Clark Roofing & Siding LP. we provide roof installation and roof repair in Edmonton. To speak to our Edmonton roofers about installing shingles on your roof, just contact A. Clark Roofing & Siding LP. today.


